Synchronizing users using Azure AD
Overview
Integration between cloud-based applications demands a robust administration of identities for their authentication. Apart from the authentication protocols you may use, it is important to centralize the information of users to ease identity management and reduce the redundancy of information.
Active Directories have been a common approach to centralize information of users within organizations. However, a variety of cloud-based applications has exposed a challenge at managing identities when applications are run in different domains.
Bizagi now offers an integration with Azure AD using the System for Cross-domain Identity Management protocol (SCIM). This protocol provides a REST API that lets Azure AD Administrators managing user identities in Bizagi and be able to Create, Read, or Delete users in the WFUser table through this service. This integration permits centralization of user administration without third-party applications, reducing failure points, and increasing the governance of multiple cloud-based applications used in organizations. The protocol relies on commercial authentication, authorization, and privacy models, which makes this integration flexible for our Bizagi cloud-offer customers.
Prerequisites
User synchronization using SCIM is only available for Bizagi projects using Automation Service (cloud) or Automation server (on-premises) using an SQL database.
Bizagi Configuration
SCIM relies on the OAuth 2.0 protocol to authenticate Bizagi as a trustworthy application in Azure AD. Therefore you need to create a Bearer Token from the Bizagi Work Portal. Bear in mind that you need to generate this token for each environment where user synchronization between Azure AD and Bizagi is needed.
Bearer Token Generation
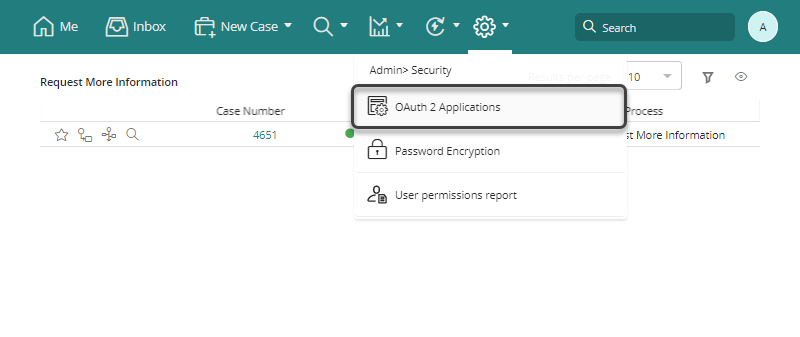
Open the Work Portal as a user with permissions to manage OAuth 2.0 Applications. Click the Admin menu, select the Security option, and then click OAuth 2.0 Applications:
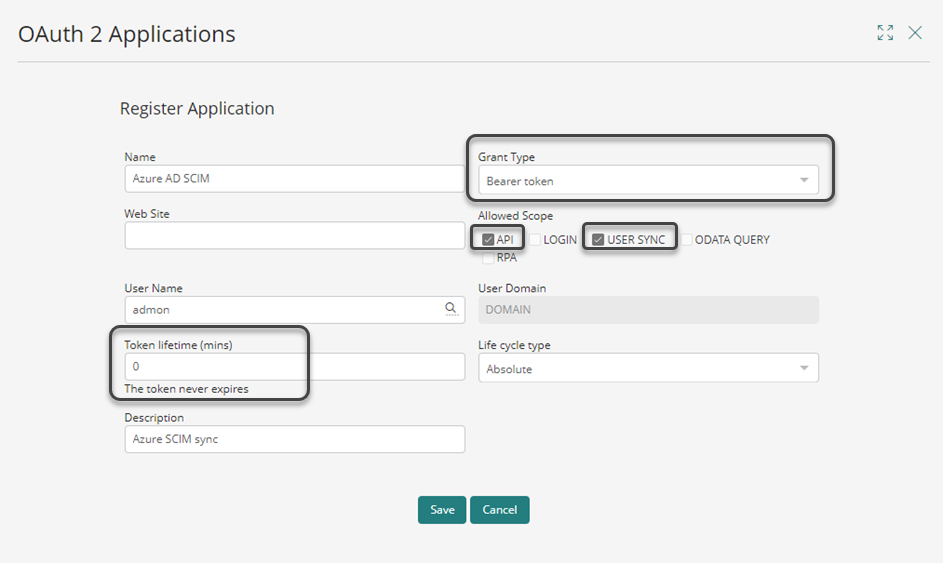
Add a new Application clicking the add button. Then, create an application with the following properties:
- Grant type: Bearer token
- Allowed scope: API and USER SYNC
- Token lifetime: Set this parameter to 0 so the token never expires. Otherwise, you would need to reconfigure the Azure AD application every time the token expires.
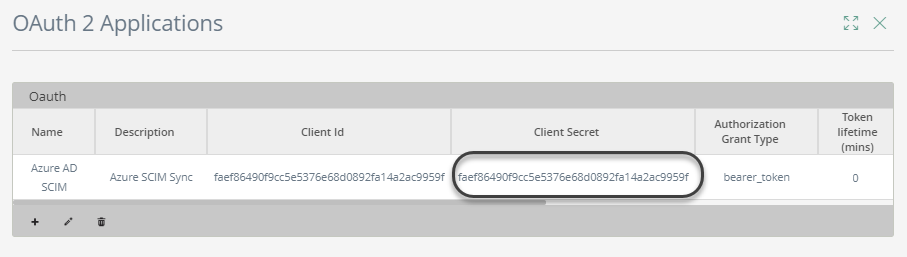
You can copy the Client Secret as your token.
Azure AD Configuration
Prerequisites
- Your Azure AD tenant.
- You need a user with permission to configure Azure AD like Application administrator, Cloud Application administrator, Application Owner or Global Administrator.
Provisioning
-
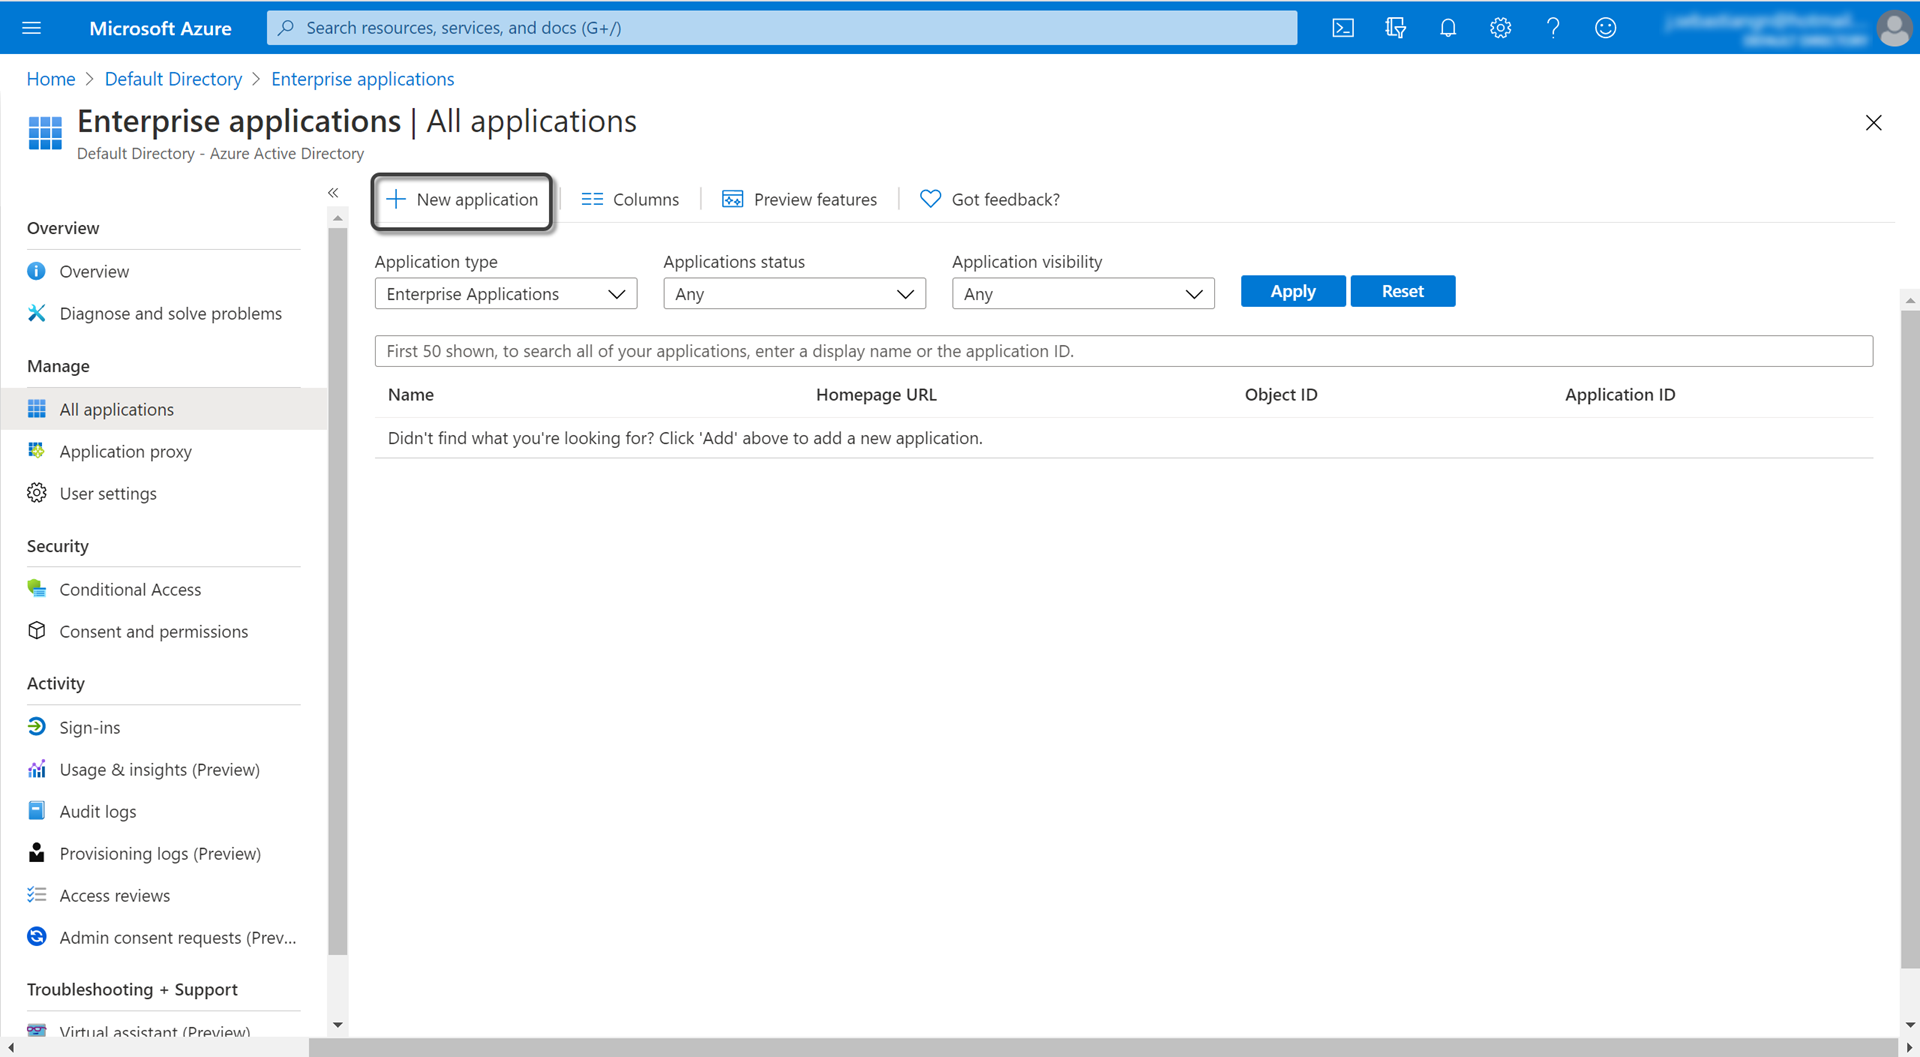
Open the Azure Portal as the administrator, and access your Azure Active Directory.
-
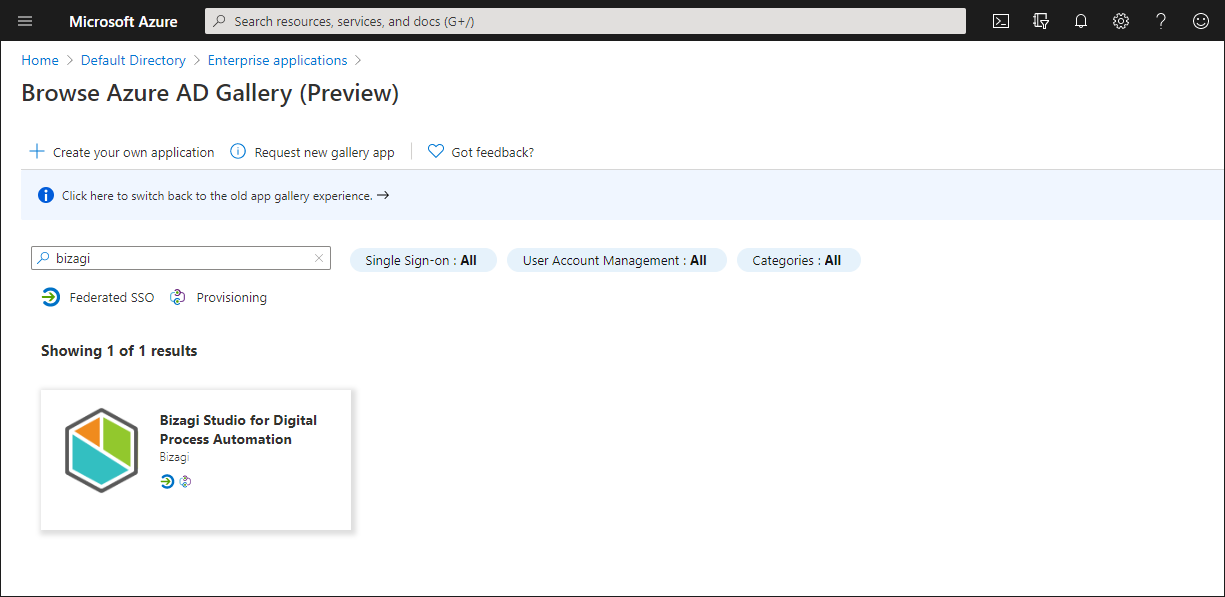
Add a New Application.
Browse Bizagi and select Bizagi Studio for Process Automation.
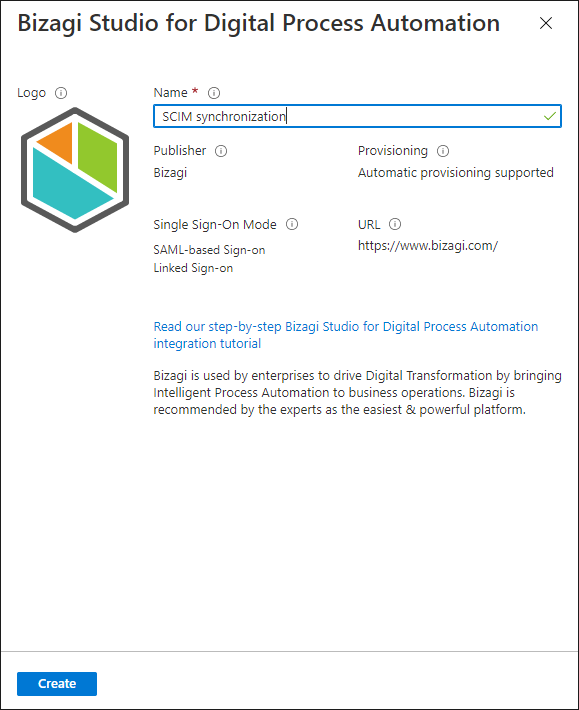
-
Give your application a name and click create.
-
Access the Manage menu and click Provisioning.
-
Select Automatic Provisioning Mode.
-
Register the following Admin Credentials:
-
Tenant URL: Enter the Bizagi SCIM endpoint with this structure:
[Your_Bizagi_Project]/scim/v2/Example:
https://my-company.bizagi.com/scim/v2/ -
Secret token: The Client Secret, as the Bearer Token, generated in OAuth 2.0 Applications inside Bizagi's Work Portal.
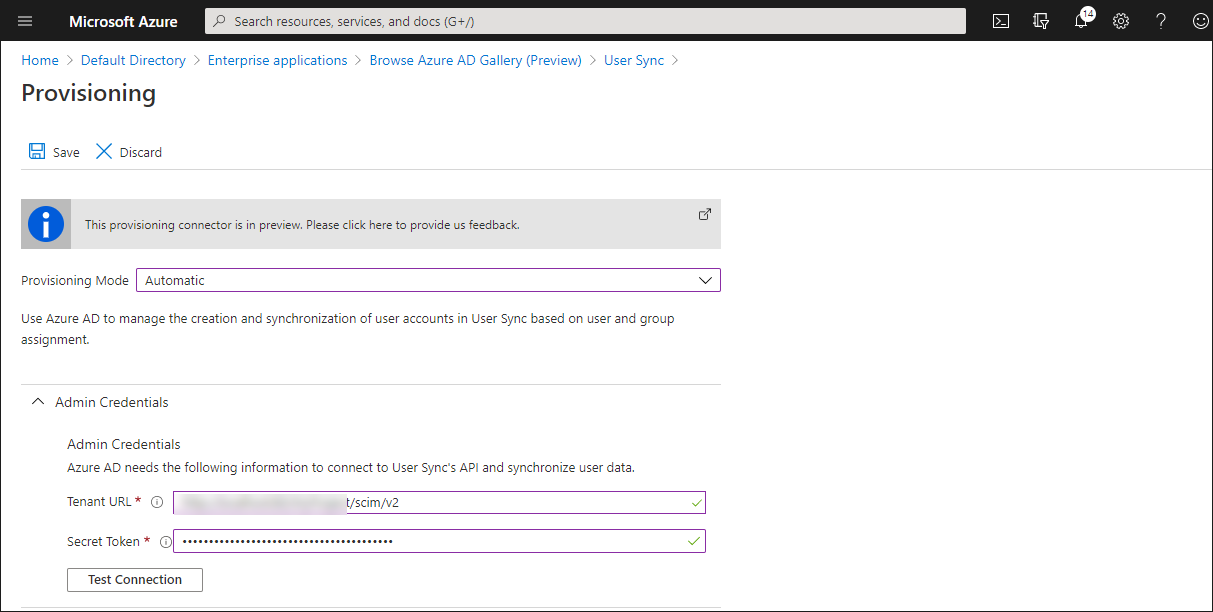
- Click Test Connection and wait for a confirmation message.
- Register the Notification Email a person or group who will receive error notifications. Make sure the check-box Send an email notification when a failure occurs is selected. Finally, click Save.
Attribute Mapping
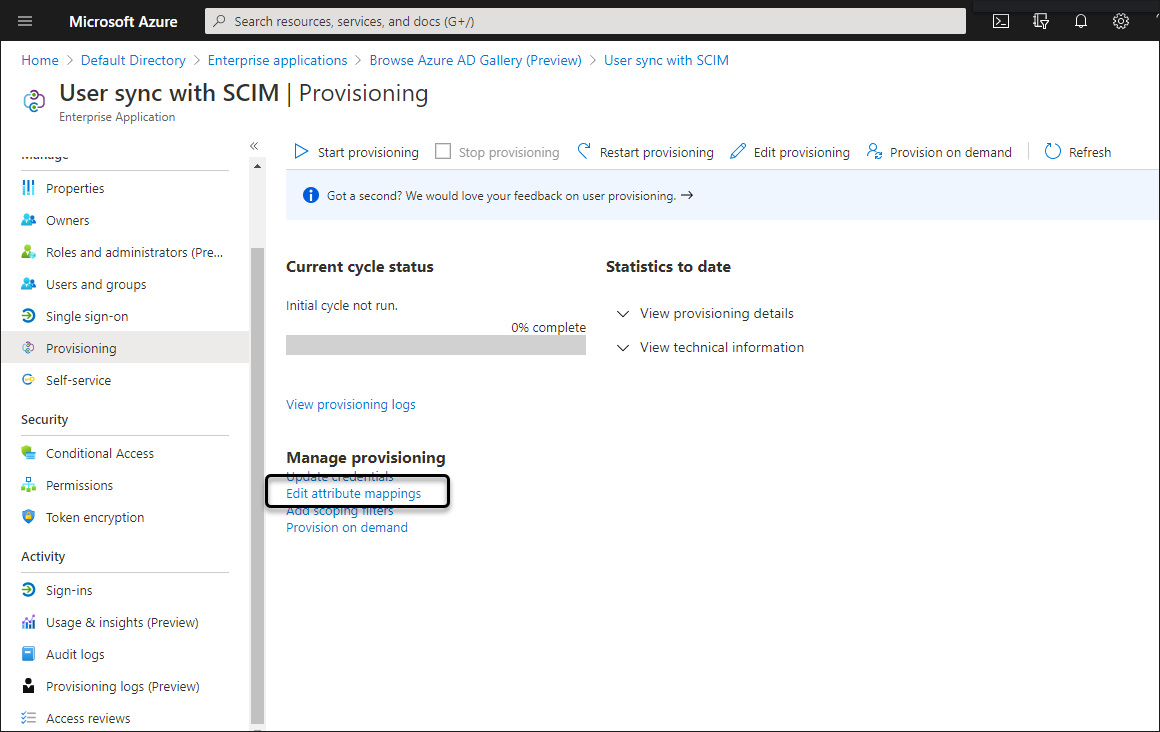
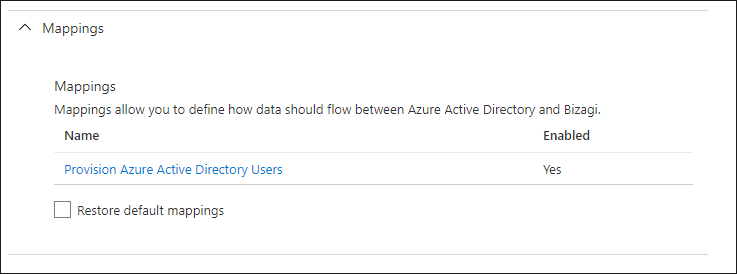
You need to configure the mapping of user attributes between Azure AD and the WFUser table. To do that Open the Edit attribute mappings options in the Provisioning module:
Click the Provisioning Azure Active Directory Users.
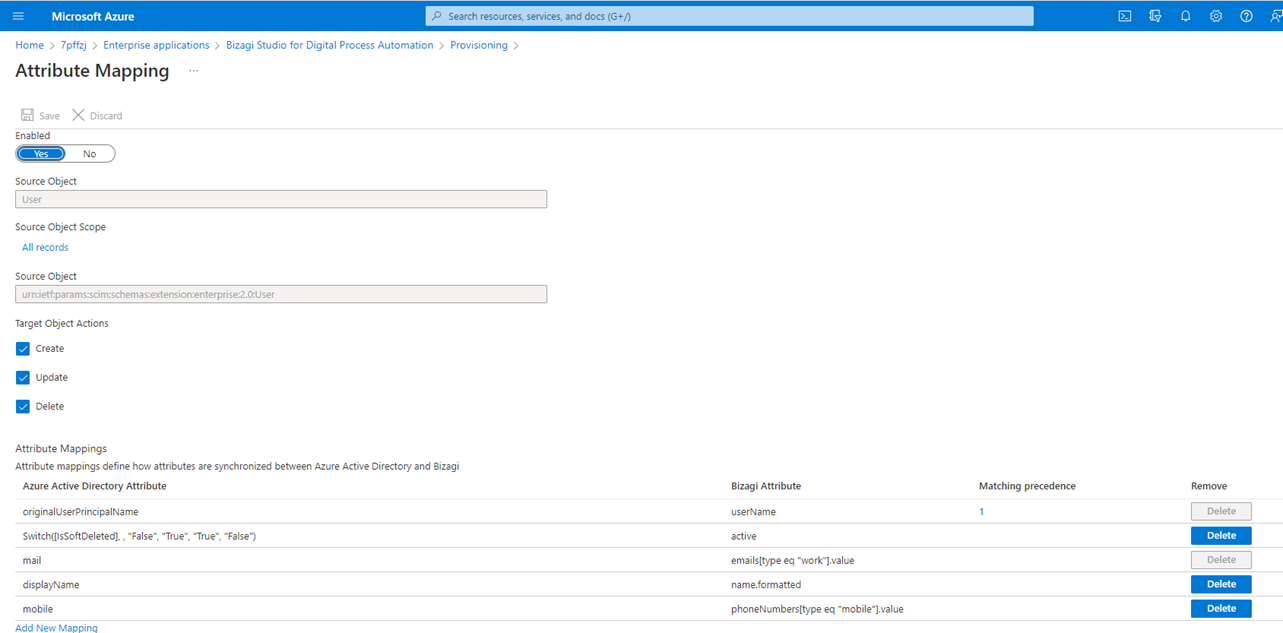
Then delete all the default attributes, and leave the following attributes:
| Attribute name in Azure AD | Attribute name in Bizagi | Observations |
|---|---|---|
| originalUserPrincipalName | userName | User domain cannot exceed 25 characters; otherwise, the user is not synchronized properly. |
| Switch([IsSoftDeleted], , "False", "True", "True", "False") | active | A non active user is considered a non existent user. Therefore is not synchronized. |
| emails[type eq "work"].value | This is a mandatory field. | |
| displayName | name.formatted | This is a mandatory field. |
| mobile | phoneNumbers[type eq "mobile"].value |
The configuration looks as follows:
You can also set the email as the Unique Identifier (UserName in Bizagi) when synchronizing users:

Note:
Using the user.mail as the Unique Identifier can be useful when you use the SSO configuration using the Bizagi Enterprise Application. See Using Bizagi Enterprise Application in Azure.
Custom User Properties
In Bizagi you can create customized user properties. Refer to How to create user properties. To learn how to map these customized user properties when synchronizing users from Azure AD, see How to map custom user properties.
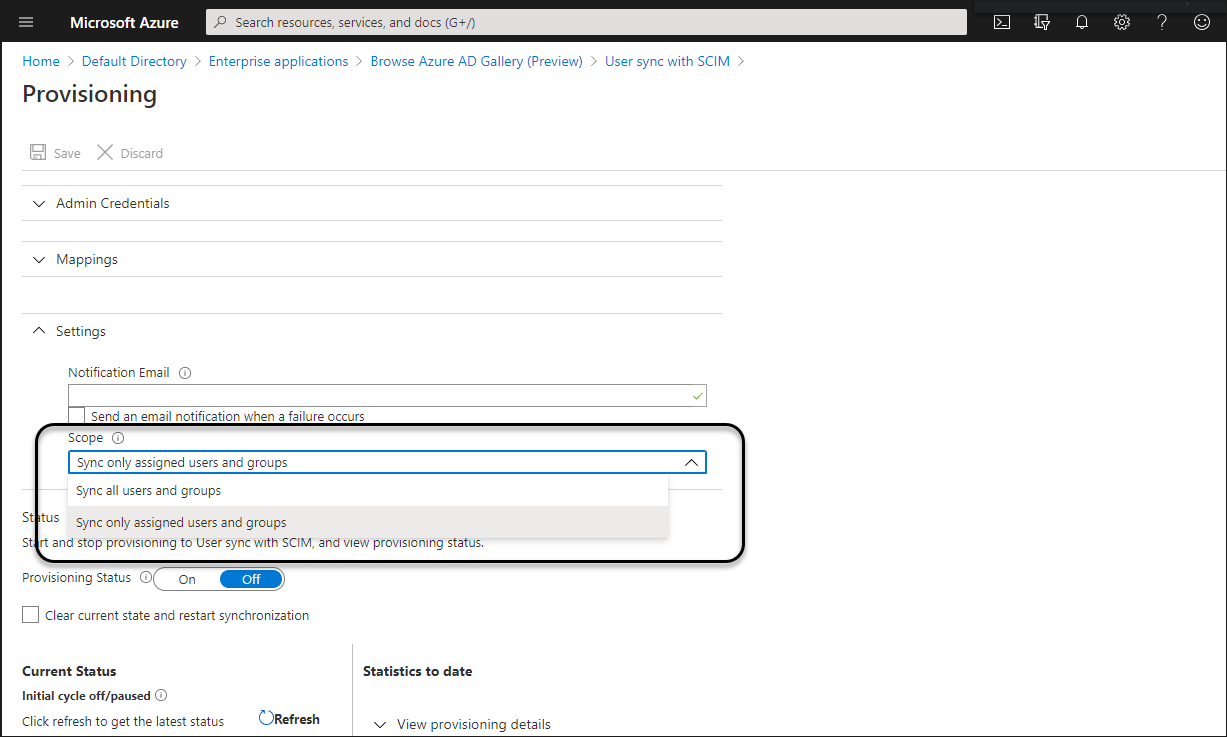
Synchronization Scope
Select the synchronization Scope, you can either choose the all users of the directory or users included within the Enterprise application's Users and groups.
Enabling the synchronization
To enable the synchronization of users to Bizagi you must open the Provisioning options, switch on the Provisioning status and click Save.
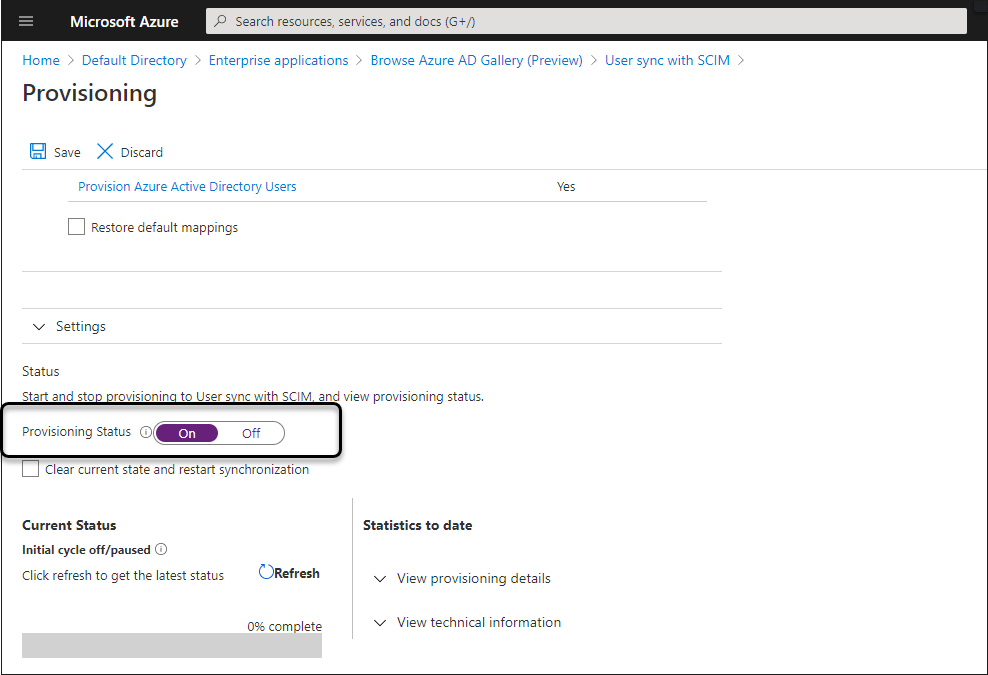
After saving, Azure AD starts the initial user synchronization based on your scope. This lasts longer than subsequent cycles because it is the first user synchronization.